I chose
to change the layout format of the digipak to include a circular CD shape
giving me an accurate template to work on. I found this on the same website as
I previously used. So far, in terms of the construction of my template, I have
included the front and back cover.
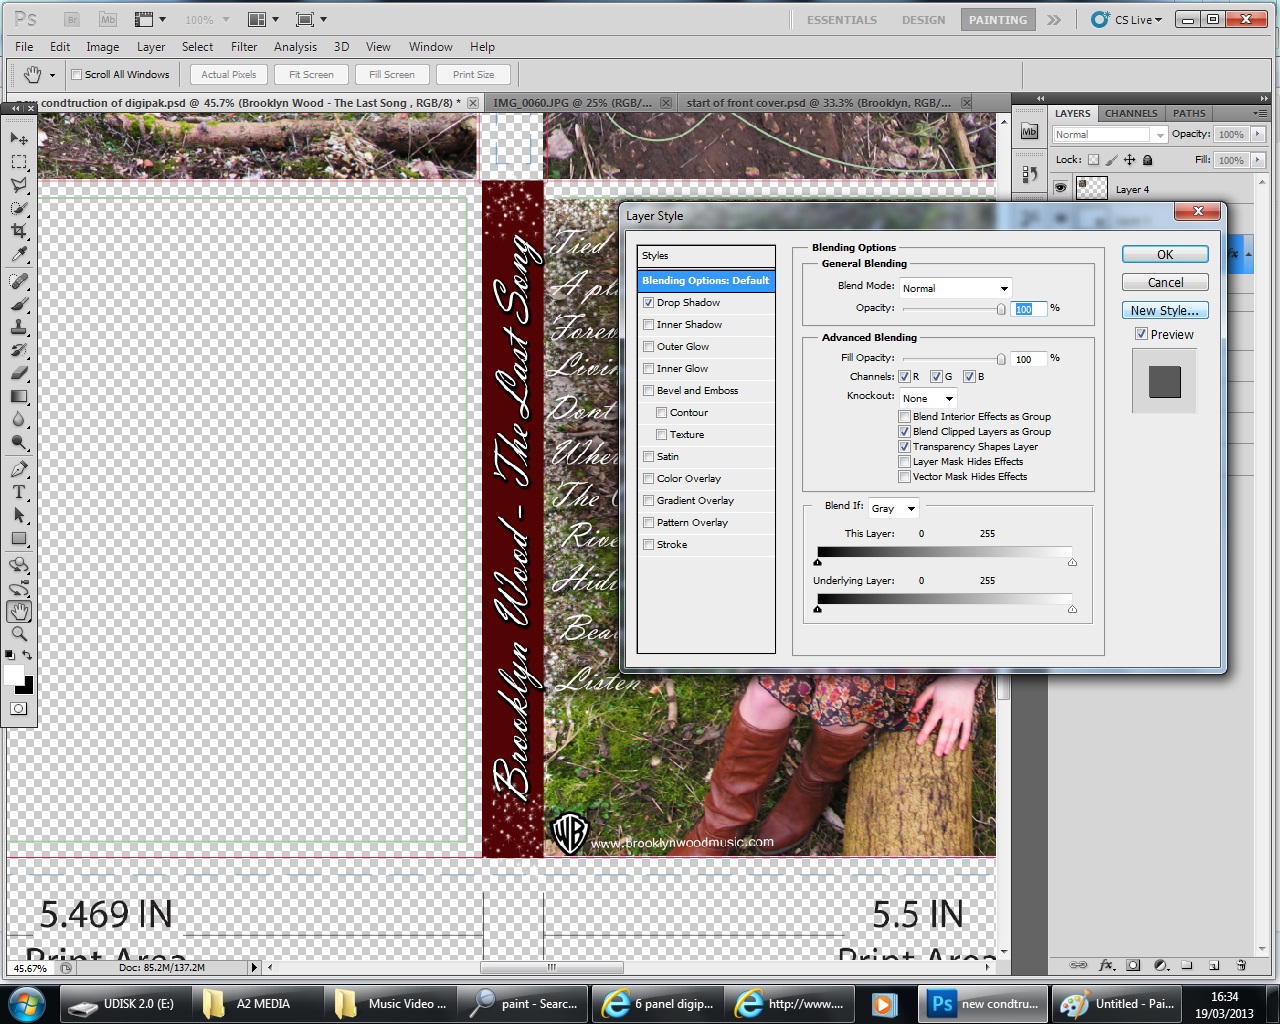
To create the featured wooded
shots to be placed behind the CD, I used the crop tool on a selected area of a photograph
using the programme Photoshop. I then used the transform tool to adapt the size
of my image to fit the template.
For the image on the inside left cover of the digipak, I want
to include a simplistic location shot suiting the country genre. However the
bright and sunny tone of the unedited picture did not suit the mood of the
digipak. Which should in fact represent the personal heartbreak of the model? I
experimented changing the levels on the image, reducing the saturation makes
the image black and white.
I then attempted using the opposite effect to black and white by greatly increasing the levels and curves making the image brighter. I do not like this effect as much as the black and white.
After making the choice to use the location shot in black and white, I selected and transformed the photograph to fit it in with the layout structure of the digipak. I now have a foundation construction of the creation of the digipak to be improved upon.
To continue the house style throughout my digipak, I decided to use the same font as the rest of the text on the fold line. I then, again used drop shadow on blending options to enhance the boldness of the text.
I also used the brush tool "sparkles" to continue the effect throughout my digipak. The brush stroke stands out really well against the burgundy box colour.
I then began to work on the CDs themselves. I wanted to continue the use of black and white to make sure all aspects of the digipak linked with each other. I used a photograph from my photo shoot and used the crop tool to select just the eyes. I then changed the saturation alike my previous image to create a black and white effect.
I now had to find a way of fitting the eyes onto the CD template. In my first attempt, I used the polygon lasso tool to cut round the edge of the image on the template. Then I used the blur tool to make the edges even.


